Week #12 – Eyes on the Prize, Violet…
This week the nails involved a repeat of Week #11’s psychedelia, a glitter nail, a pattern a bit like the nets tangerines come in, half-moons, topical glitter use, and EYES.
Many of us are of course familiar with the eyeball manicure popularised by London’s WAH Nails:

Picture: WAH nails
Here, as you can see, the concept works well as the nails are, more or less, quite a round shape so each nail is a WHOLE round, bloodshot eyeball.
Well here at B’ City Nails we don’t have too much time for nails this short, and it didn’t take us long to realise this would look shite on us, like an eyeball on widescreen.
We ended up painting two eyes, and even the make-up around the eyes, too. This was quite a nice look, but may take some time to perfect.
I am buying better brushes and pens soon, also, so stay posted for some product-based posts cos it has got to the stage now where my cheap-o tools are holding me back!
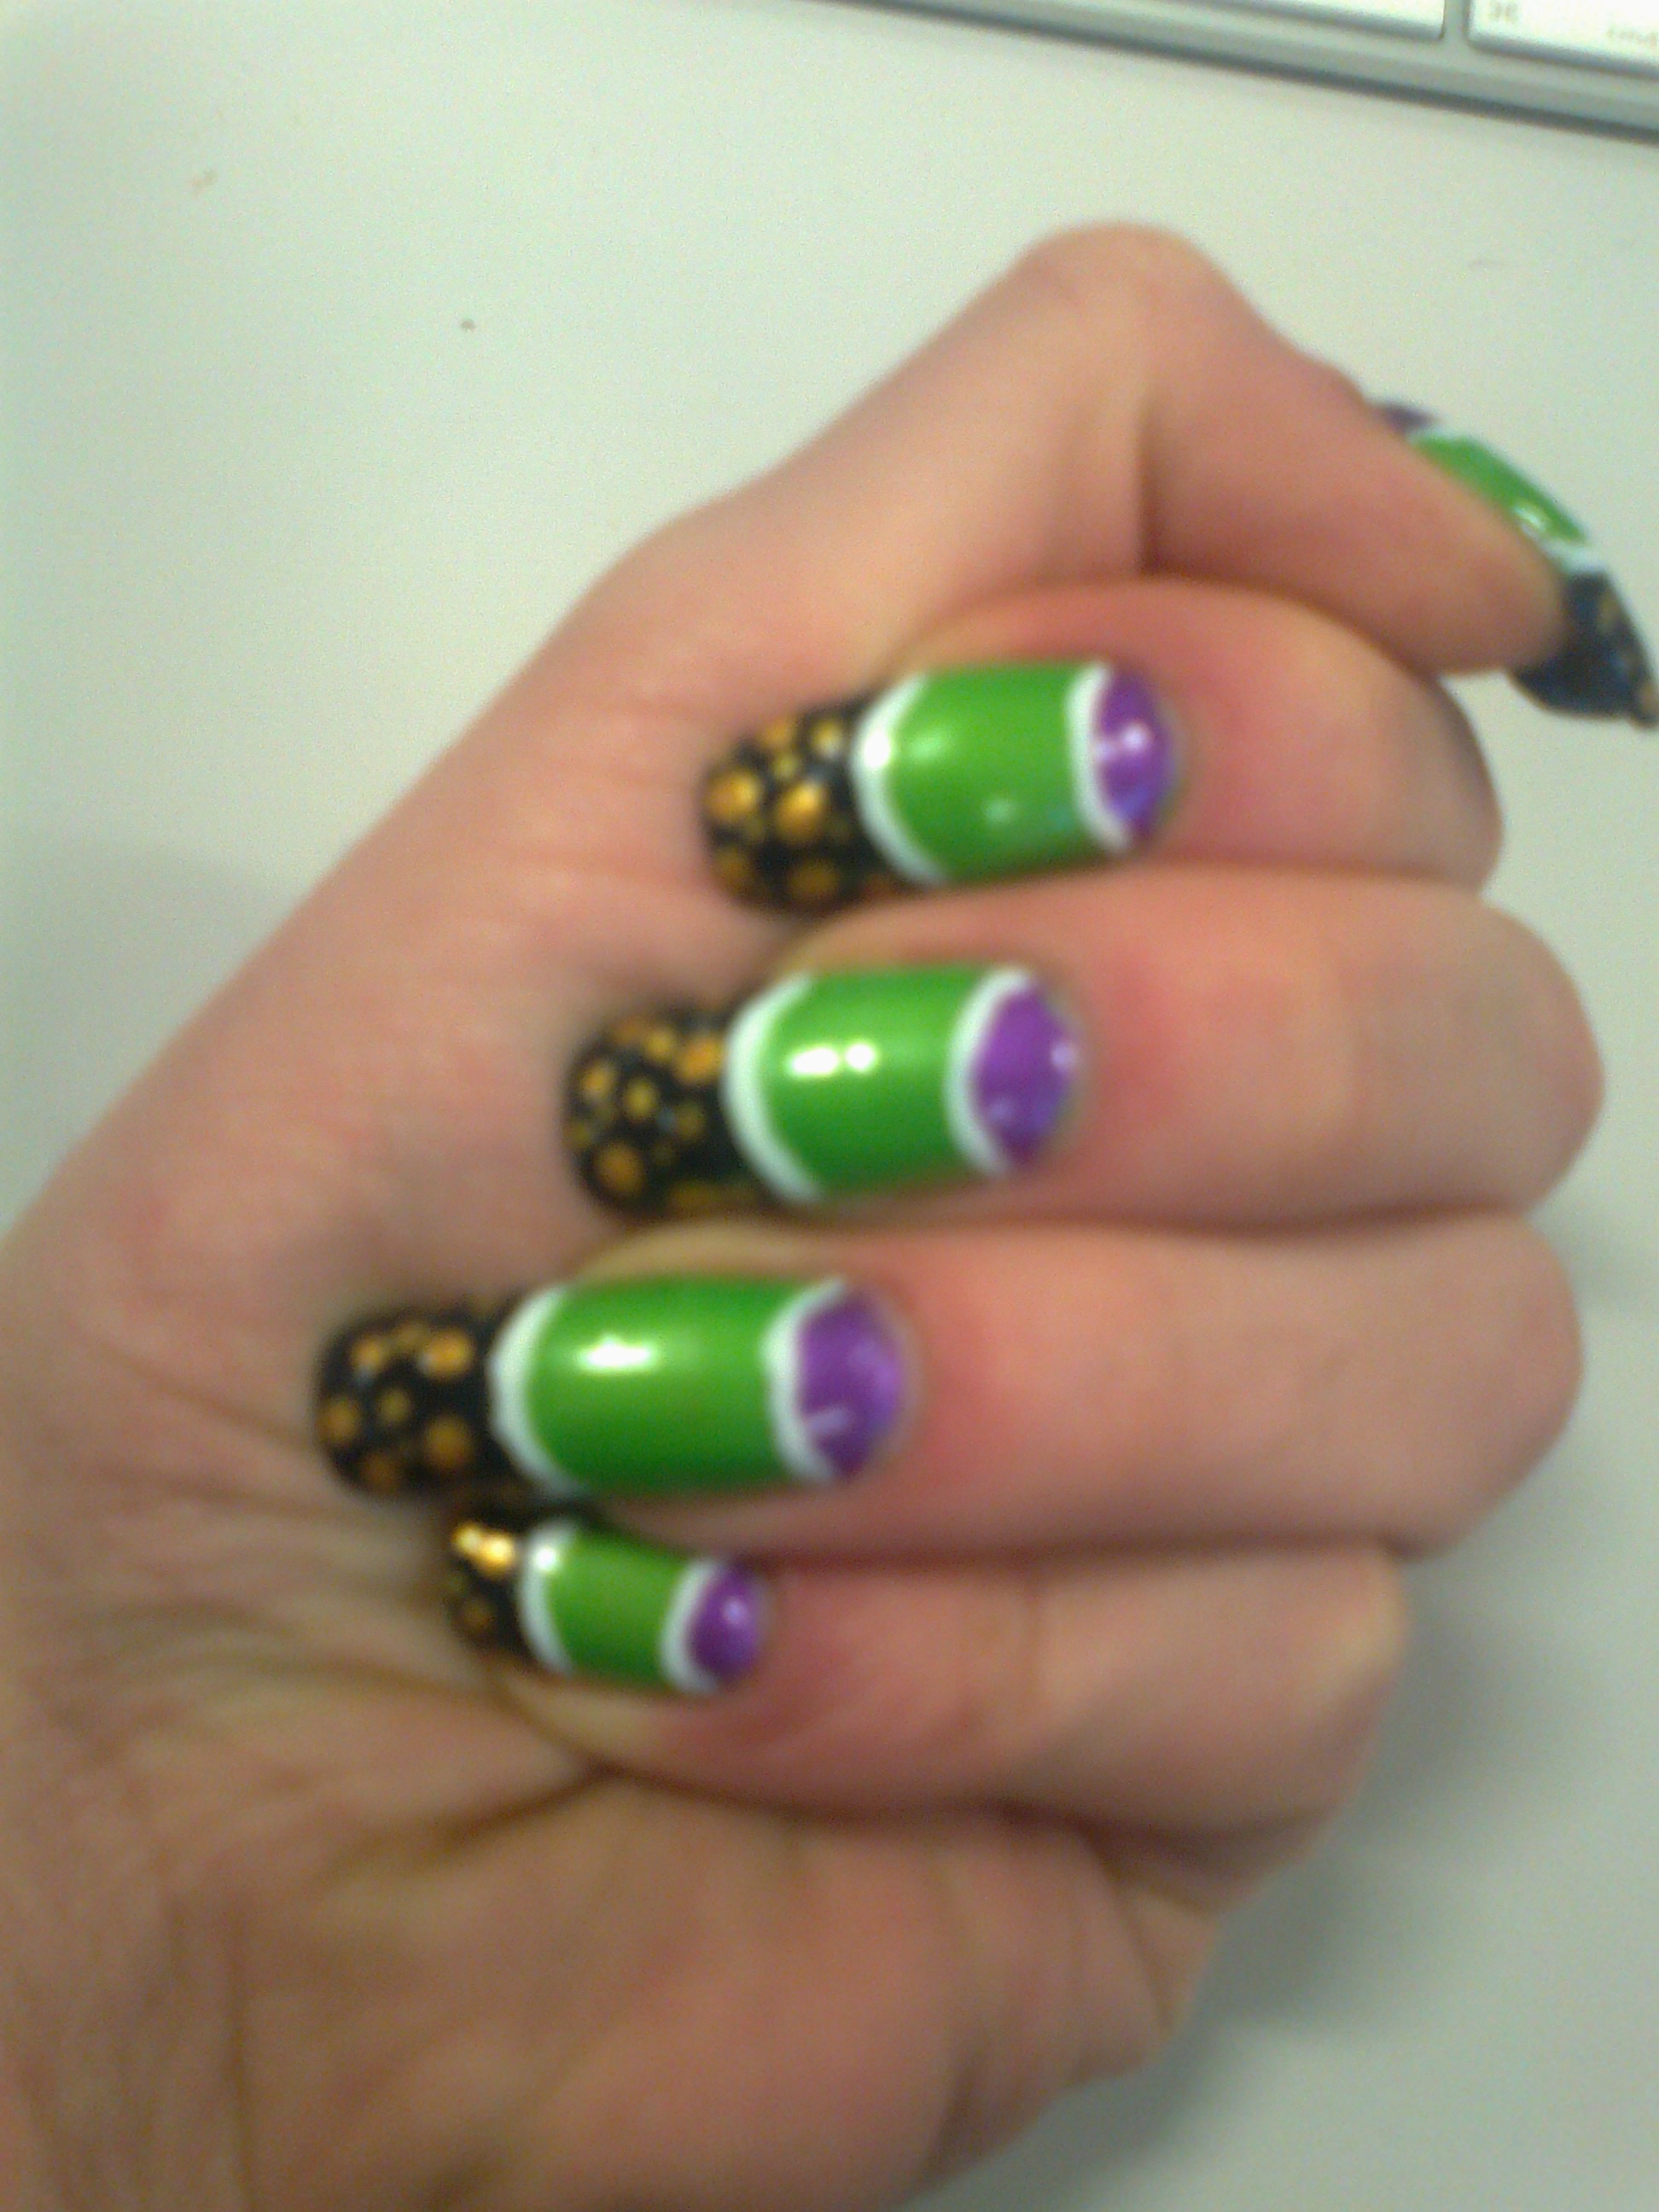
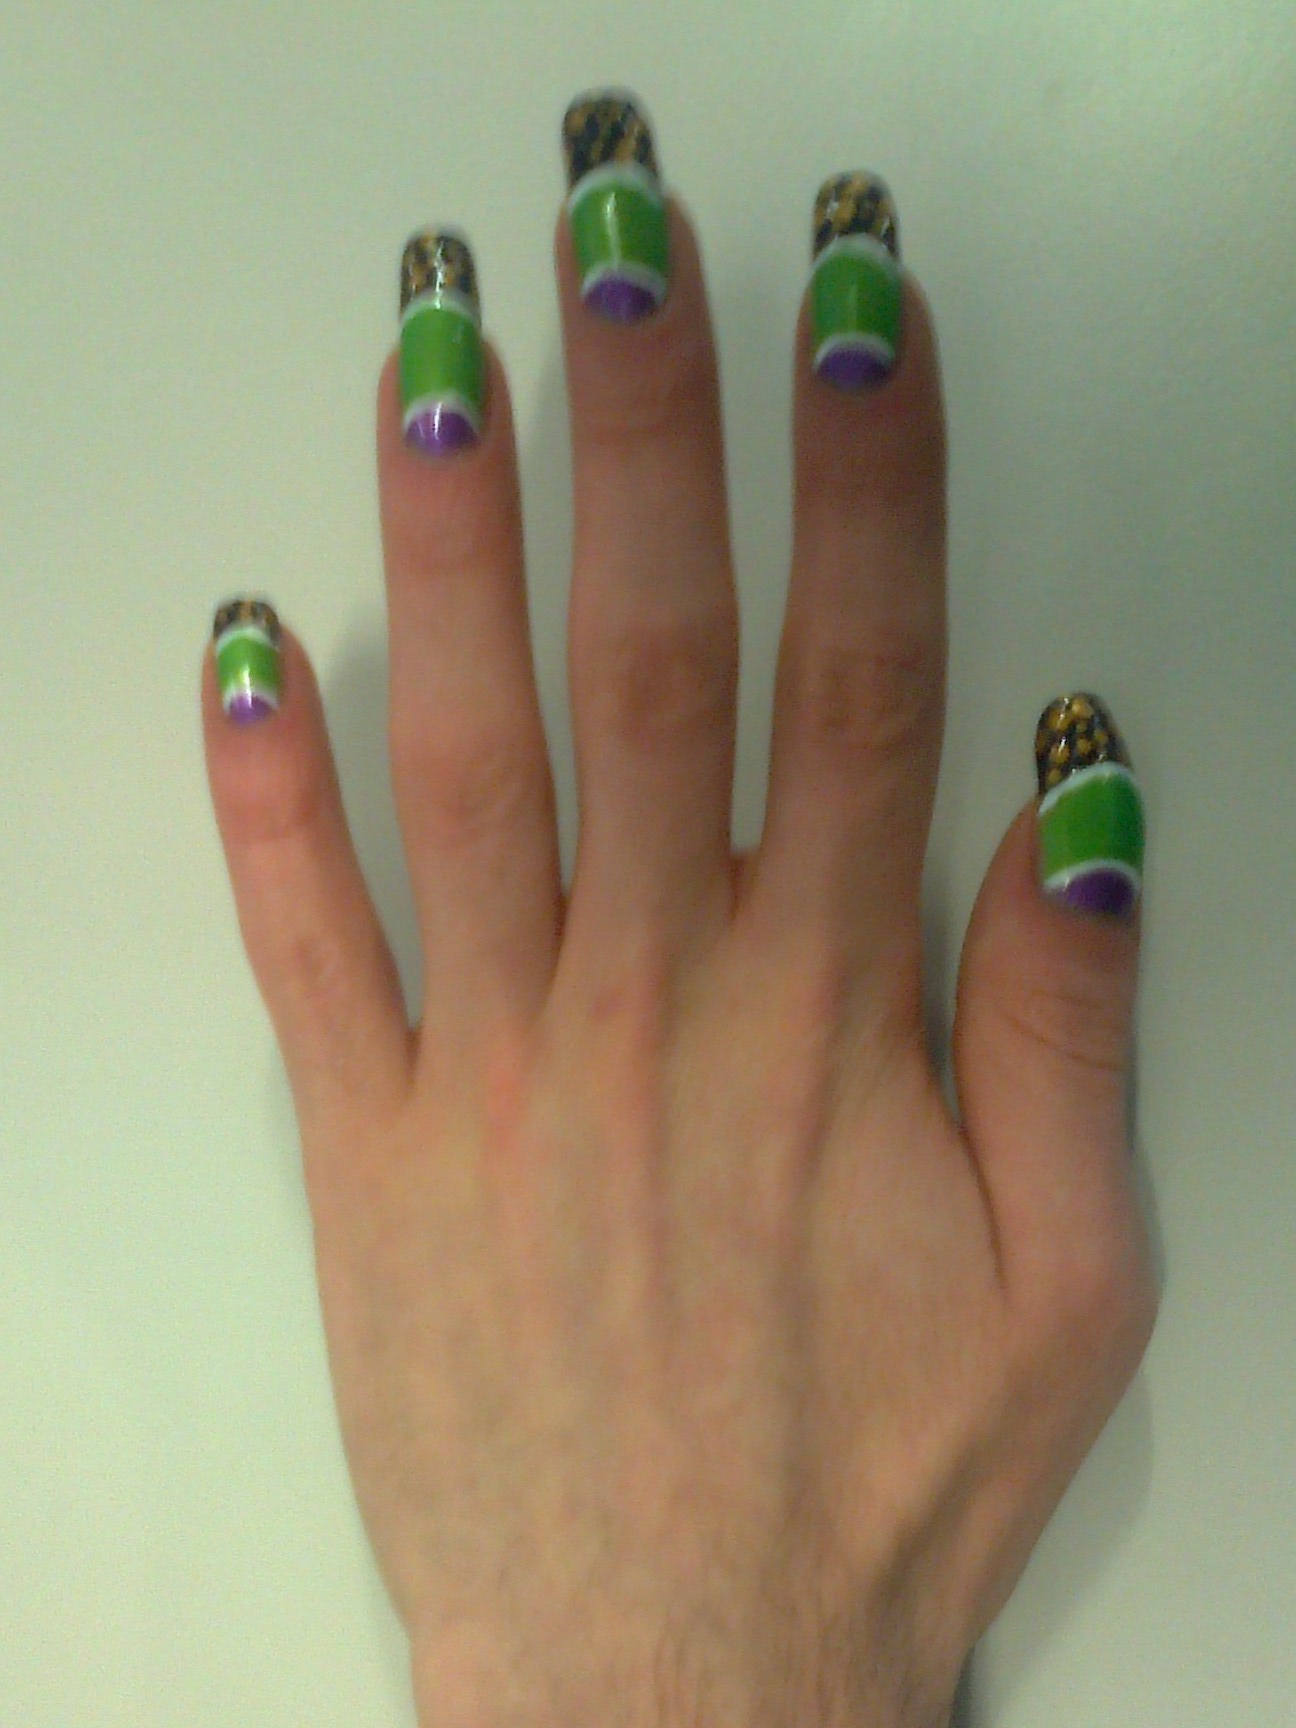
ANYWAY here’s the new nails, eyes n’all.

Both thumb nails broke recently so their inclusion in the photo (although they were painted) would ruin life.
7/10
I feel I have been marking myself too generously recently, and 2012 is the Year of Brutality after all. Not good enough will simply not be good enough, this year! I have decided I can’t fault the design of this manicure, each nail works great with the next one, etc. But the execution is just a bit too wonky for higher marks, and I am not 100% committed to that green glitter half-moon, either.
Week #10 – Powder Gradient, Whisker Tip, Fresh Colours
This ‘week’ we tried various ways to make Rimmel’s ‘I ❤ Lasting Finish’ in 280 Sunshine work.
After a pretty uninspired attempt at a smiley face motif we settled for this jazzy little arrangement. Although it’s not the most exciting design-wise, the colours catch the eye and the whisker-thin tip emphasises the nail’s shape.

8/10
Most refreshing.
Week #1
AMAZING:


WHAT WE USED:

L-R:
Saffron London ‘Ultra Nail Polish’. Colour 48 (frozen pea green), from eBay
‘Flexbrush’ – gold striping brush, from eBay
No. 7 – ‘Stay Perfect’ in Betty Blues (more then one layer and it’s pretty much black)
Seche Vite – Dry Fast Top Coat
And of course, SUPER GLUE!
[As you can see there is also purple and white used in the manicure, which were from a set of very cheap striping brushes/pens, available on eBay]
Step #1

Paint the green over the nail bed, using a curved stroke at the top to avoid the tip of the nail. If one nail is broken or shorter than the others, leave a bit of extra space unpainted at the top so that not all the nail bed is covered and the tips all look proportional.
Use enough polish for the brush not to drag and leave marks. Vertical strokes along the length of the nail are easier to control and give a better finish than horizontal ones, but you may need to vary your strokes to get an even, plasticy look.
This is two coats.
Step #2

Paint your tips. Don’t be tempted to go along the width of the nail – use three or four carefully-angled VERTICAL strokes, and it will be easier to control. It doesn’t matter if the line between the two colours is a bit raggedy because you’ll be going over it with the striping brush.
Step #3

Use the gold striping brush to put dots across the tips Start with three or four big blobs, which you almost drip on from the tip of the brush. Then scrape excess varnish off the brush and then use the blobs already on your nails to dip the brush into. This gives you the light amounts of varnish you need for your smaller surrounding dots.
These dots can take a while to dry, as it’s quite a lot of varnish. That’s cool though, because you still have to do the purple half-moons and white dividing lines.
Step #4

Then add purple half-moons using a purple striping brush, and white dividing lines using a white striping brush.
With the white lines, it’s best to go from the centre of the nail, and out to either side (if you go from the outside in, your two lines might not meet at quite the same height like this: —__ and if you try to do it in one swoop, well, it’s your funeral).
Of course you better add a good TOP COAT. Waint until your nails are dry to the touch of your lips before using a top coat. If you have a fast drying top coat like Seche Vite, or you have time to kill, you better use TWO coats, for an extra-smoothe, acrylic look.
Ooohh yeah.
8/10
– because I am not 100% sure about the colours. It’s not the green and purple (that’s a classic satisfying clash), it’s the further combination of black and gold…am I trying to combine two worlds in one? At times I think so. So we lose two marks.
***
Stay tuned for more BEST CITY NAILS…
